Creating a Community
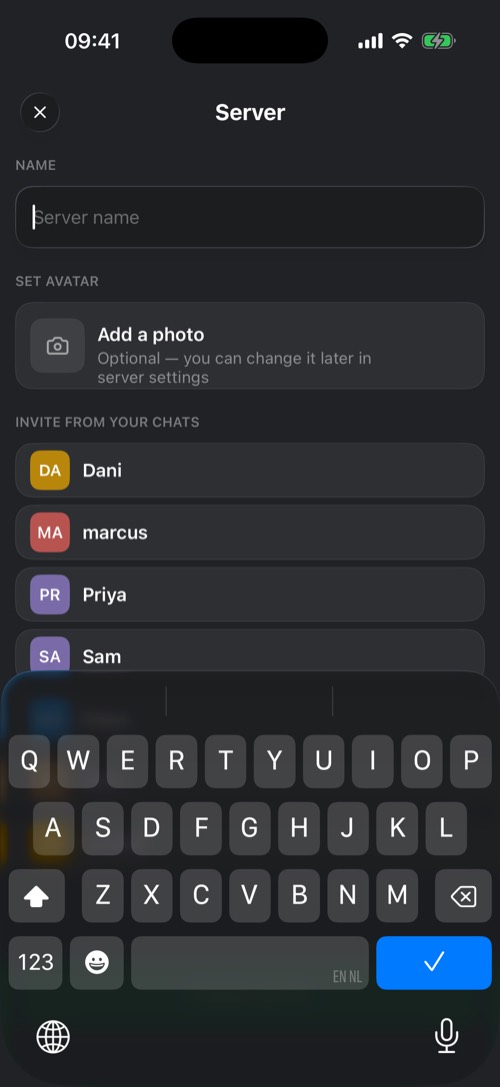
Create a community in under a minute, fill it with channels and invite your friends.
A community (also called a server) is a shared space with its own channels, roles and members. It suits a friend group, a club, a team or a class.
Create one
A new community is empty. mssgs offers to fill it: Import from a screenshot recreates a channel list from a screenshot of another app, or Add a channel myself starts from scratch.
Join one
- Tap an invite link a friend sent you.
- Scan an invite QR code with Settings → Scan QR code.
- Tap + in the community list and choose Join Server to browse public communities.
How many?
| Free | Premium | |
|---|---|---|
| Communities you own | 2 | 10 |
| Communities you are in | 10 | Unlimited |
Getting around
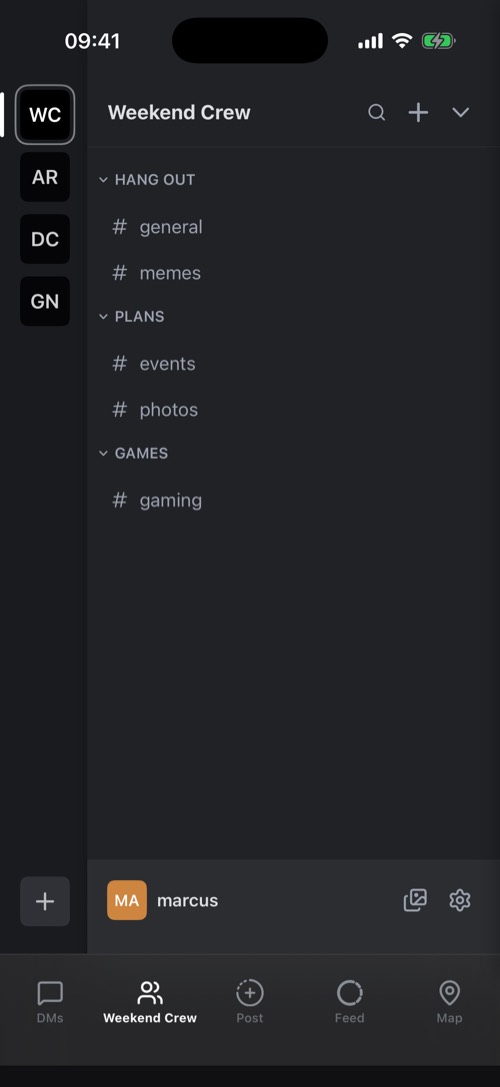
Swipe right, or tap ☰ in a channel, to see your communities down the left and the channels of the current one next to them. Hold the Community tab in the bottom bar to jump to another community or to an unread channel.
Hold a community's icon for its options: Invite People, Server Settings, Mark All Read, Keep on top, Group with… (put communities in a folder), Mute Server and Leave server.
Was this article helpful?
Didn’t find what you were looking for? We’re happy to help.
Ask your question